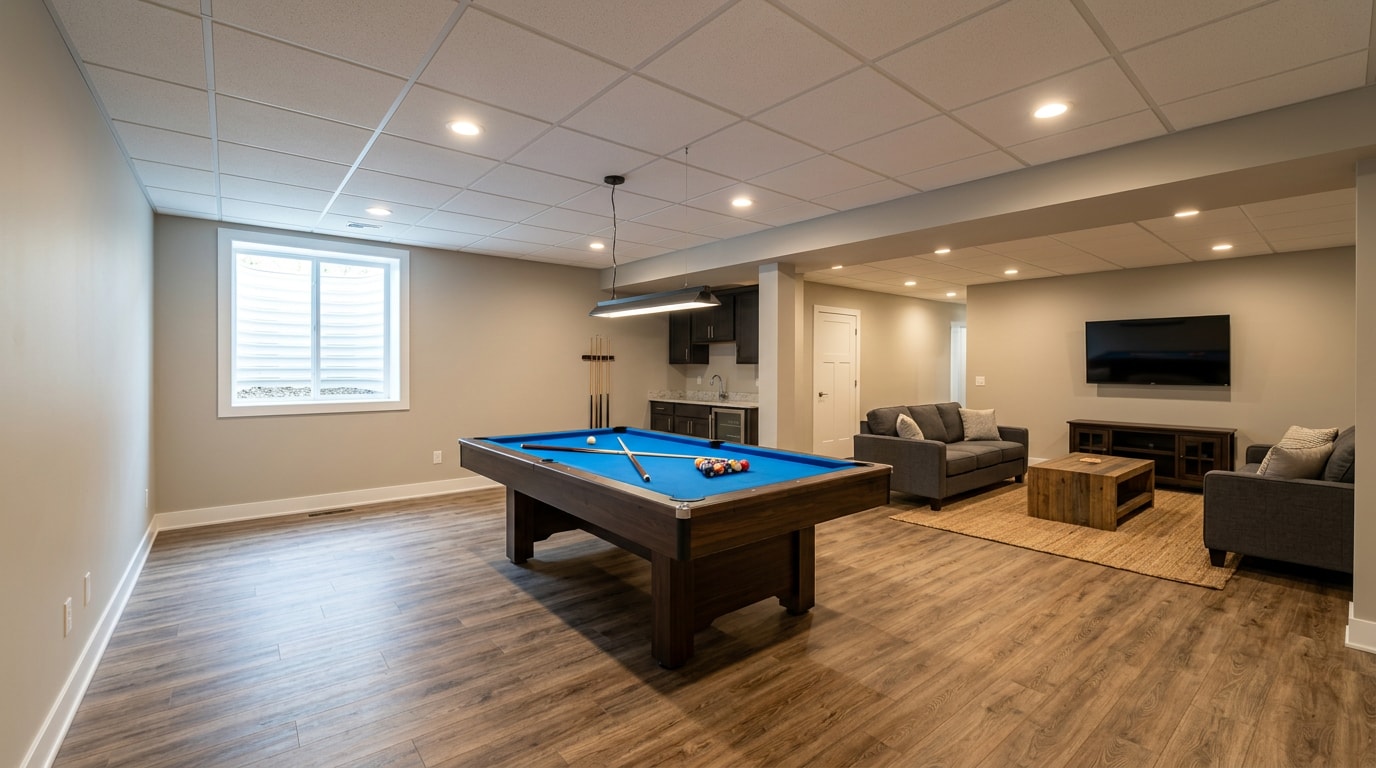
How to renovate a basement comes down to doing things in the right order: plan the layout, control moisture, pull permits, run systems, then finish. Skip a step and you risk mold, failed inspections, or a room that never feels dry. This guide walks through each stage in the sequence contractors actually use, whether you're hiring out the whole project or tackling parts yourself.
Decide How You Want to Use Your Basement
Before you pick paint colors or flooring, settle on what the space is actually for.
Common finished basement uses include:
- Rec room or media space
- Guest suite or bedroom
- Home office or gym
- Rentable studio apartment
This decision shapes everything downstream. It determines where walls go, whether you need a bathroom, and how much natural light or egress you'll need. A guest suite demands a different layout than a media room, so nail this down before you sketch anything.
Create a Remodeling Plan to Renovate a Basement
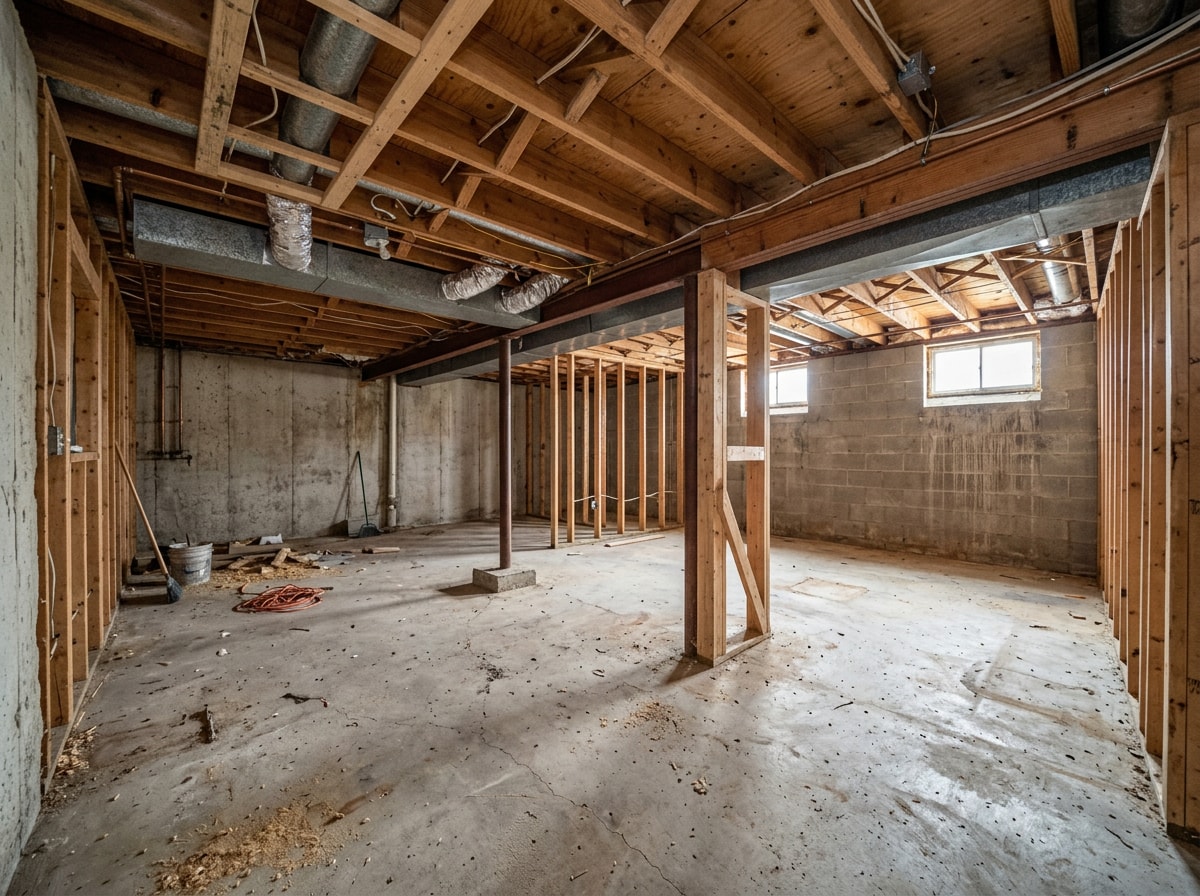
Once you know the purpose, measure the entire space and sketch a floor plan that accounts for support posts, ductwork, and the water heater.
List every room or zone you want, such as a bathroom, closet, or laundry nook, and note rough dimensions for each.
Some homeowners hand-draw this plan. Others hire a designer to produce a formal layout with furniture placement and electrical locations marked. Either way, having something on paper before demolition prevents expensive mid-project changes. If you'd rather have a professional draft this plan with you, our home renovation team can help you get started.
Set a Budget for Your Basement Renovation
Basement renovation cost varies widely based on finish level, so budgeting early avoids surprises later.
| Finish Level | What It Typically Includes |
|---|---|
| Basic | Paint, simple flooring, minimal lighting, no plumbing |
| Mid-range | Drywall, flooring, a full bathroom, upgraded lighting |
| High-end | Custom millwork, wet bar, premium flooring, built-in bathroom |
Nationally, contractors commonly quote basic finishes at the low end of the per-square-foot range, with mid-range and high-end projects climbing from there as plumbing, custom features, and finish quality increase. Your actual cost will shift based on local labor rates, material availability, and how much structural or moisture work is needed before finishing even starts.
A basement that needs waterproofing or an egress window added will push the budget higher than a dry, already-framed space would. For a detailed 2026 breakdown by finish level and region, see our complete basement finishing cost guide before you lock in a number.
Getting two or three quotes before committing helps you see where your project realistically lands on this spectrum. Request a free estimate once you have a rough scope in mind.
Assess Your Basement for Moisture and Structural Issues
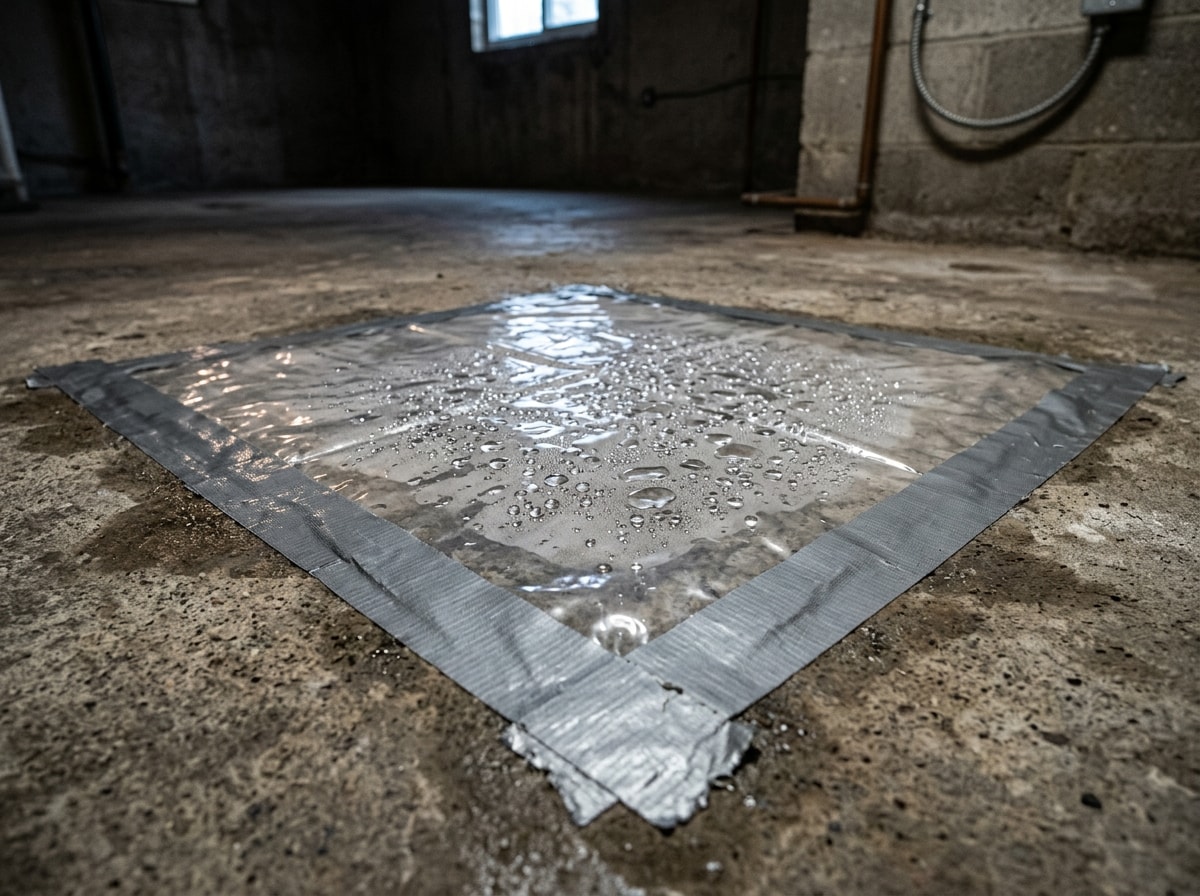
Test for moisture before any other work begins. Tape a plastic sheet tightly to the floor and walls for 24 hours, then check which side the condensation forms on.
Moisture on top of the plastic means ambient humidity. Moisture underneath means water is actively moving through the slab or wall.
A full inspection should also cover foundation cracks, support posts and beams, and existing ceiling height. Cracks wider than a hairline, bowed walls, or spongy support posts signal you need a structural evaluation before moving forward. In our experience finishing basements across East Tennessee, this plastic-sheet test catches problems a quick walk-through almost always misses.
Radon levels are often highest in the lowest part of a home or building, so testing in the basement or ground floor is a good place to start.
If testing shows elevated radon levels at or above 4 pCi/L, the EPA recommends finding a certified contractor and fixing the space. Finishing a basement can change how soil gases move through the home, so test before, not after, you close up walls.
What Happens If Basement Humidity Levels Are High?
High basement humidity encourages mold growth, warps wood framing, and ruins drywall over time. A dehumidifier typically handles ongoing air moisture, while active water intrusion usually calls for a sump pump or French drain system instead.
Mold prevention starts with controlling both sources. Don't finish walls over a basement that still sweats or floods after heavy rain.
Research Local Codes, Permits, and Requirements
Most basement renovations touching electrical, plumbing, framing, or egress require a permit. Skipping one can complicate insurance claims or a future home sale.
Local building codes also set minimum ceiling height requirements, which can limit how much you can drop a finished ceiling. Requirements vary by municipality, so check with your local building department before finalizing your plan. If you're planning a project in our service area, our Johnson City, TN team can walk you through what your local jurisdiction typically requires.
Clean Out Your Basement
Clear everything out before demolition starts.
Sort items into keep, store, donate, or discard. Decide early what structures, like old shelving, a dated bar, or unused closets, won't survive into the new layout.
Decluttering now makes demolition prep faster and gives your contractor, or you, a clean slate to measure and mark up for the work ahead.
Assemble a Remodeling Team or Get Professional Help
Decide which parts of the project you're comfortable handling yourself and which need licensed trades.
Electrical, plumbing, and HVAC work almost always call for a licensed general contractor or subcontractor, both for safety and for passing inspection.
Getting bids from several contractors, generally three or more, gives you a realistic sense of pricing and lets you compare scope, timeline, and materials side by side. Framing, insulation, and painting are more approachable for experienced DIYers, but anything behind the walls deserves professional eyes. Contact us if you'd like help scoping your project before you start collecting quotes.
Take Care of Electrical and Plumbing
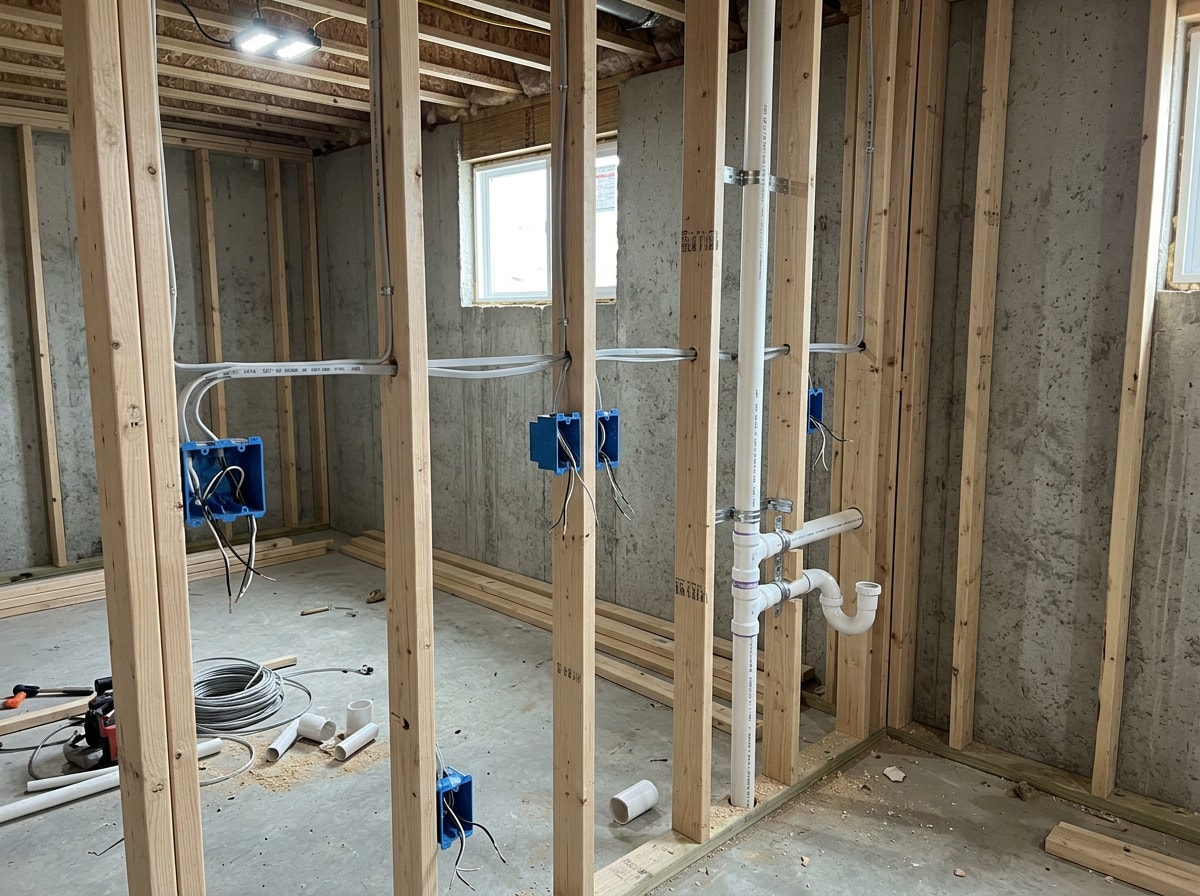
Rough-in work, meaning wiring, outlets, lighting circuits, and any plumbing lines, happens before insulation and drywall go up, since everything here eventually gets hidden.
Plan outlet and lighting locations against your layout now, including dedicated circuits for appliances or a future bathroom.
This is the stage where hiring a licensed electrician and plumber matters most. Many jurisdictions now require ground-fault protection on every basement receptacle, finished or not, so confirm current rules with your electrician before rough-in begins. NFPA 70, the National Electrical Code, is enforced in all 50 states and serves as the benchmark for safe electrical design, installation, and inspection. Mistakes here are expensive to fix once walls are closed up, so this isn't the place to cut corners.
Insulate Your Basement
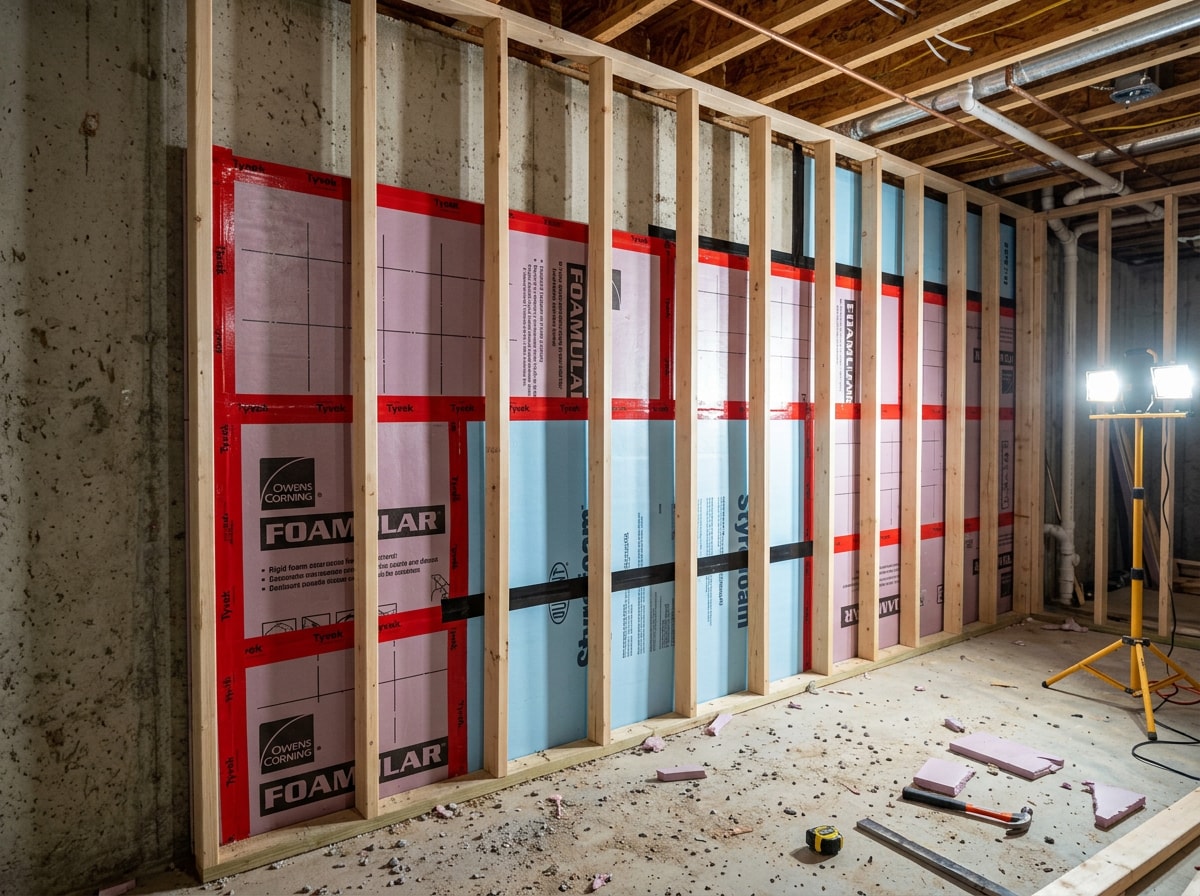
Insulation affects comfort, energy bills, and moisture performance, so material choice matters more in a basement than almost anywhere else in the house.
- Rigid foam board resists moisture well and suits concrete walls, though it's labor-intensive to install precisely.
- Spray foam seals gaps completely and offers a high R-value per inch, but costs more and generally requires professional application.
- Batt insulation is the cheapest and easiest for DIY, but it performs poorly if it ever gets damp, which is a real risk below grade.
| Climate Zone | Recommended Basement Wall Insulation |
|---|---|
| Zone 3 | R-5 insulating sheathing or R-13 batt |
| Zones 4A and 4B | R-10 insulating sheathing or R-13 batt |
| Colder zones | Check your exact recommendation by ZIP code |
For Zone 3, add R5 insulative wall sheathing or R13 batt; for Zones 4A and 4B, add R10 insulative wall sheathing or R13 batt. Whichever material you choose, make sure it's rated for below-grade, moisture-prone conditions rather than a standard above-ground product.
Frame the Walls
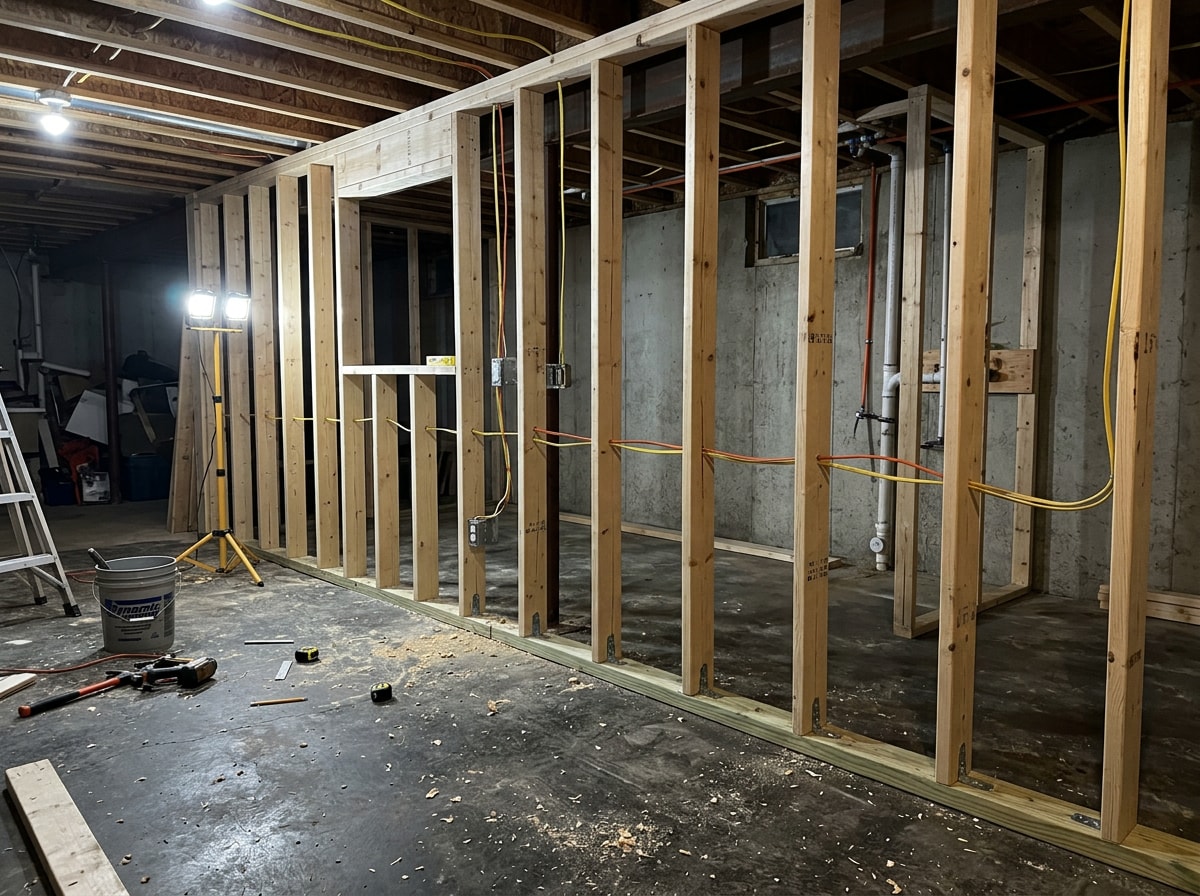
Framing typically goes together on the ground and gets tilted into place, with studs spaced 16 inches on center and a pressure-treated bottom plate anchored to the concrete.
Work carefully around existing windows, doors, and any mechanical runs you need to keep accessible.
Basement framing differs from above-ground framing in one important way: fireblocking. Without it, stud cavities can act like chimneys, pulling fire and smoke from the basement toward the attic in a house fire. Confirm fireblocking placement with your local code before closing up walls, since requirements can vary slightly by jurisdiction.
Life Safety and Egress
Any basement room used as a bedroom legally needs an egress window: a window large enough and positioned low enough for someone to escape through in an emergency, and for firefighters to enter.
Emergency escape and rescue openings shall have a net clear opening of not less than 5.7 square feet.
The minimum net clear opening height dimension is 24 inches, and the minimum net clear opening width dimension is 20 inches. The code also caps sill height from the floor, so even a technically large enough window can fail if it's mounted too high to reach.
Decide on egress needs before framing is finalized, since adding a window afterward usually means cutting into both the framing and the foundation. If your layout includes a bedroom, confirm your exact local requirements with the building department before you proceed.
Choose Your Basement Flooring
Below-grade spaces need moisture-resistant flooring, so skip traditional hardwood or wall-to-wall carpet unless your basement has a long, proven dry track record.
| Flooring Type | Moisture Resistance | Feel Underfoot |
|---|---|---|
| Luxury vinyl plank | Handles minor dampness well | Warm, close to real wood |
| Tile | Fully waterproof | Cold |
| Engineered wood | Needs a reliably dry subfloor | Warmer than tile |
Repair any subfloor cracks before installing anything new, since finished flooring will telegraph those flaws over time. Our flooring installation team can walk you through material options in more depth if you're still deciding.
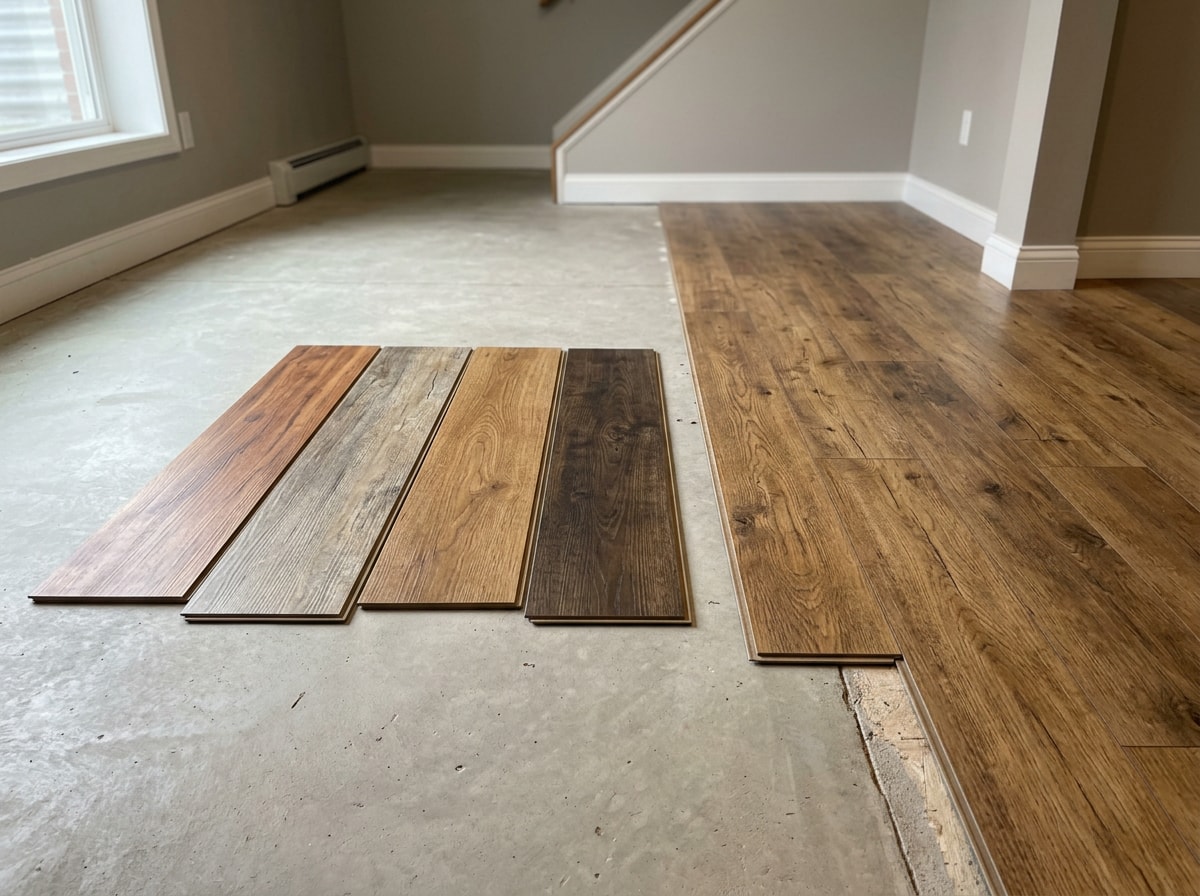
How to Finish a Basement Floor
Start with subfloor prep: patch cracks, confirm the surface is level, and let any moisture mitigation product cure fully.
From there, the typical order is subfloor panel, then underlayment, then finish flooring, working from the back corner toward the exit.
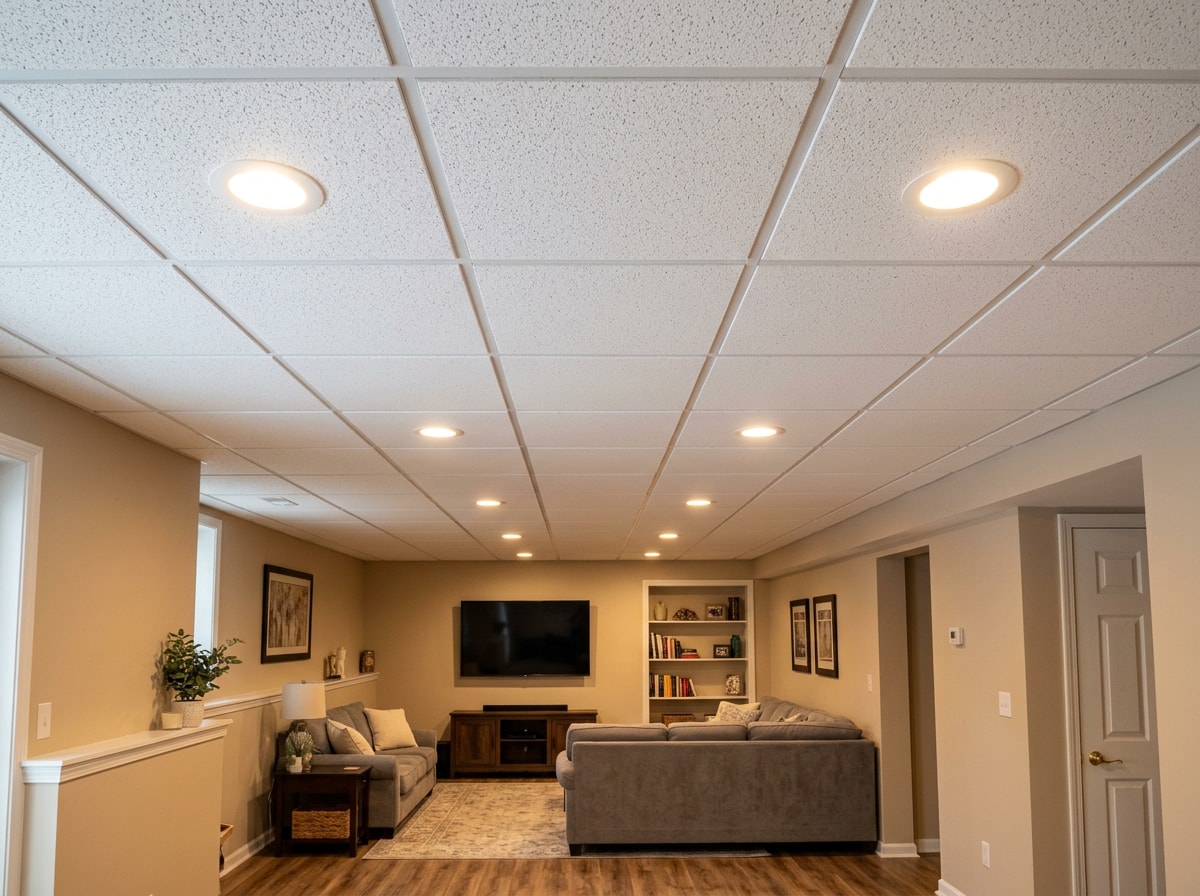
Install the Ceiling
A drop ceiling keeps pipes, ducts, and wiring accessible for future repairs. A drywall ceiling gives a more finished, seamless look but hides everything behind it.
Whichever you choose, double-check the resulting clearance against your local ceiling height minimum before committing, since even a few inches can matter.
Paint Your Basement
Bare concrete or cinder block often needs a masonry primer and two or three coats before color looks even and true.
Drywall surfaces behave more predictably, but a durable, washable paint sheen is worth the upcharge if the space will see kids, pets, or heavy foot traffic.
Once paint is done, add trim, lighting, and final décor touches to bring the whole renovation together. From there, our general contractor services team at Nordstar Builders can help with anything from a single stage, like framing or flooring, to full turnkey project management.
About the Author
This guide was written by Derek Hale, General Contractor and Project Lead at Nordstar Builders, where he oversees basement, kitchen, and bathroom renovations throughout Johnson City, Kingsport, Bristol, and the surrounding Tri-Cities region of Tennessee. Questions about your specific basement? Contact our team directly.
FAQ
Do I Need a Permit to Finish a Basement?
In most areas, yes. Any renovation involving electrical, plumbing, framing, or egress changes typically requires a permit. Requirements vary by municipality, so check with your local building department before you start.
What Should I Do Before Finishing a Basement?
Run the plastic sheet moisture test, inspect walls for seepage, efflorescence, or staining, and consider a radon test before any construction starts. This pre-construction checklist catches problems that are far cheaper to fix before framing than after.
How Long Does It Take to Renovate a Basement?
Most basement renovations take 4 to 16 weeks, depending on square footage, the number of rooms, and whether you're adding a bathroom. Permit timelines and contractor availability can shift this significantly.
Can Any Basement Be Finished?
Not every basement qualifies without remediation first. Insufficient ceiling height, chronic active flooding, or no viable path to an egress window can disqualify a space until those issues are resolved. Most basements, though, just need moisture control or minor structural fixes before they're ready.
How Much Does It Cost to Renovate a Basement?
Cost depends heavily on finish level and how much moisture or structural work is needed first. See our basement finishing cost guide for current per-square-foot ranges by finish tier.
Does Finishing a Basement Add Value to a Home?
Finished basements typically recoup a meaningful share of their cost at resale, though the exact return depends on your local market, the quality of the work, and whether the space meets code as livable square footage.
Can I Finish a Basement Myself?
Parts of the project, like painting, trim, and some framing, are approachable for experienced DIYers. Electrical, plumbing, and anything tied to egress or structural changes should go to licensed professionals, both for safety and to pass inspection.