Learning how to install countertops comes down to five fixed steps: measure, remove the old top, dry-fit, secure, and seal. Laminate and butcher block are weekend-friendly DIY jobs, but heavy stone slabs like quartz and granite need level cabinets, precise templating, and usually a second set of hands. This guide walks through the full process so you know exactly where a confident DIYer should stop and a professional installer should take over.
Crews at Nordstar Builders template and set countertops in kitchens across Northeast Tennessee every month, and the failure point we see most often isn't a bad cut, it's an unlevel cabinet run nobody checked before the slab arrived.
What You'll Need Before You Start
Stage every tool before cutting anything so the install runs without a mid-project supply run.
- Tape measure, level, and a square for layout
- Circular saw or jigsaw (diamond blade for stone, fine-tooth blade for laminate or wood)
- Construction adhesive or epoxy, clamps, and shims
- Mildew-resistant kitchen and bath caulk plus a caulk tool
- Gloves and eye protection
- A helper, since most countertop sections are too heavy or awkward to move alone

If you'd rather skip straight to a quote, our countertop installation team handles everything from templating to final seal.
Step 1: Measure and Level Your Cabinets
Measure the full installation area, including wall-to-wall length and cabinet depth, before ordering any material. Standard base cabinet depth runs around 23-3/4 inches. Getting this number wrong is the single most common reason a new countertop doesn't fit.
Overhang allowance varies by material. Laminate typically needs about a 1-inch overhang past the cabinet face. Stone surfaces like granite or quartz often extend further to support an eased or bullnose edge. The preparation area next to a sink should be at least 36 inches wide by 24 inches deep of continuous countertop , according to National Kitchen & Bath Association planning guidelines, which is worth checking against your layout before you order.
Plan sink and cooktop cutouts now, not after the slab arrives. Fabricators need those dimensions for an accurate template.
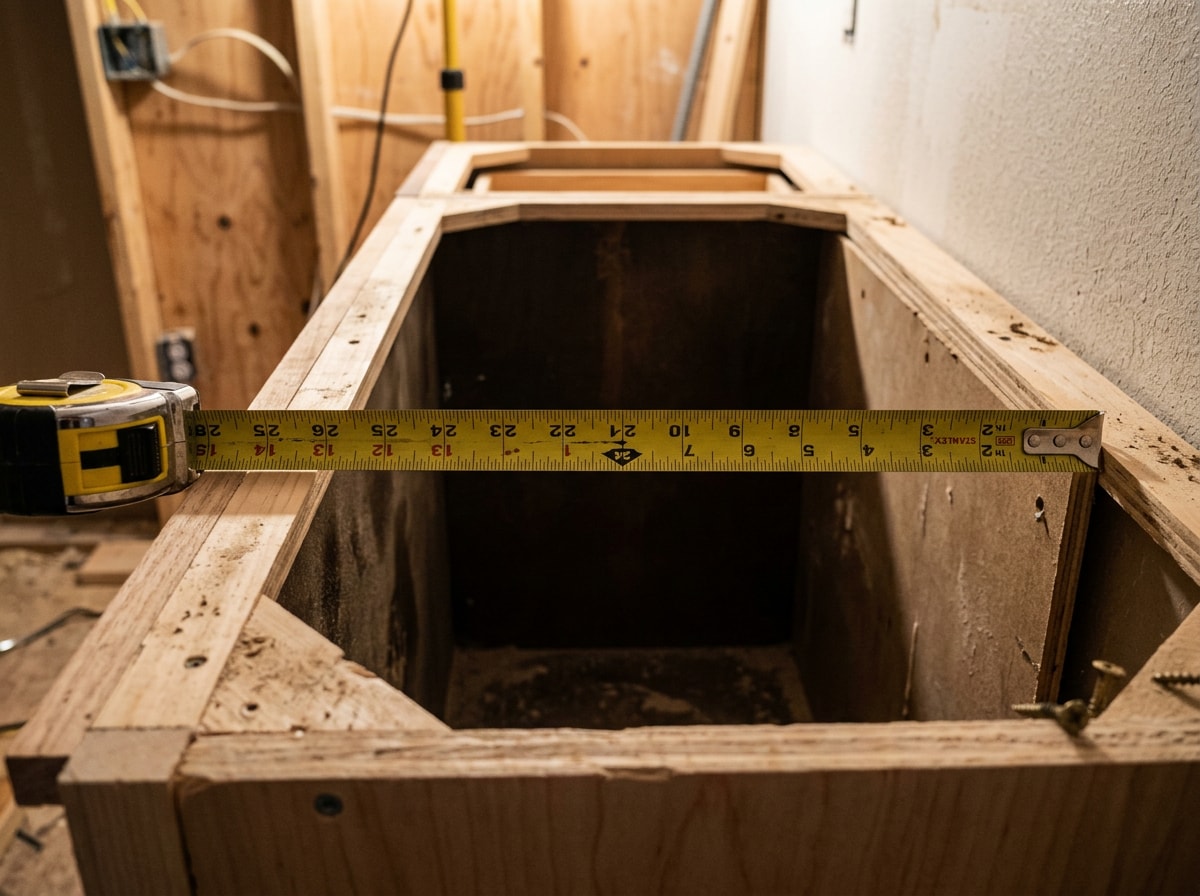
Unlevel cabinets are a bigger problem with rigid materials than with laminate, since a quartz or granite slab can't flex to absorb an uneven surface. A gap under one corner can crack a seam or create a stress point that fails months later. Check each cabinet with a level front-to-back and side-to-side, then slide shims under the low spots until the line reads true. If your cabinets themselves are shifting or out of square, that's usually a sign they need replacing before new countertops go in, which our cabinet installation crews can handle alongside the counter swap.
Step 2: Choose Your Countertop Material
Pick your material before buying tools, since the install method, and how much of it you can realistically DIY, changes completely depending on what you choose.
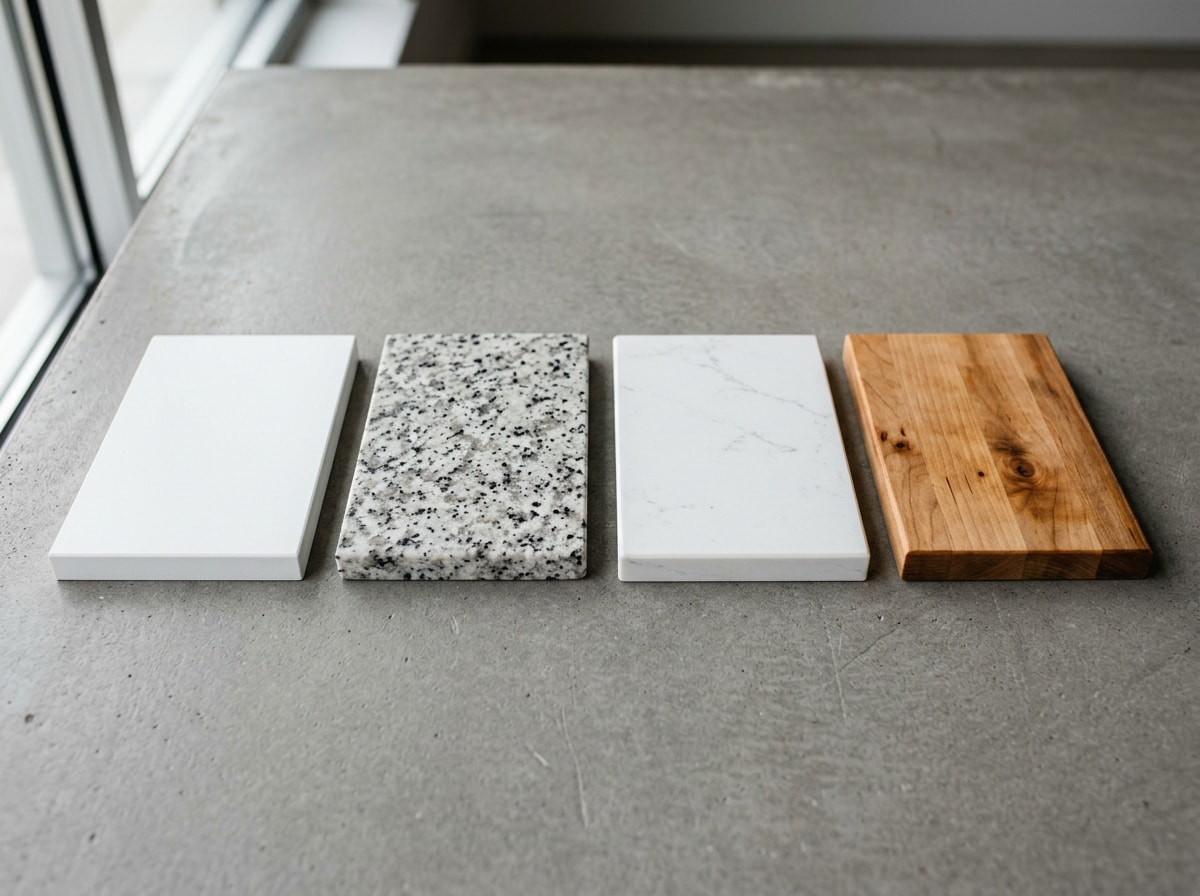
Laminate is lightweight, cuts with standard woodworking tools, and is one of the few countertop materials a confident homeowner can install in a weekend. Butcher block falls into similar territory, though it needs sealing and periodic maintenance.
Granite, quartz, and marble are a different story. These slabs are heavy and rigid, and they usually require factory templating and fabrication. Stone is rarely a true weekend project. Quartz in particular needs precise handling to avoid cracked seams.
Step 3: Remove the Old Countertop
Before installing a new surface, shut off the water supply and disconnect the sink, faucet, and any disposal unit connected to the old countertop. Older stone or tile tops can be heavier and more brittle than they look, so handle them with help and protective gloves rather than prying them free solo.
Once plumbing connections are safely capped, unscrew the old countertop from the cabinet framing underneath and lift it away in sections if needed. If your home was built before 1978 and the removal will disturb a painted backsplash or wall, the Lead Renovation, Repair and Painting Rule establishes requirements for firms and individuals performing renovations, and affects contractors and others who disturb painted surfaces in houses built before 1978 , which is worth a quick check before you start prying.
Step 4: Dry-Fit the New Countertop
With the old surface removed and cabinets leveled, set the new countertop onto the cabinetry without adhesive or fasteners first. Check for gaps between the wall and the back edge.
A gap under about 1/8 inch is acceptable. Anything wider usually means the wall line needs scribing, which means tracing the wall's contour onto the countertop's back edge and trimming it to match, before final placement. Dry fitting catches these problems while they're still easy to fix.
Step 5: Secure the Countertop to the Cabinets
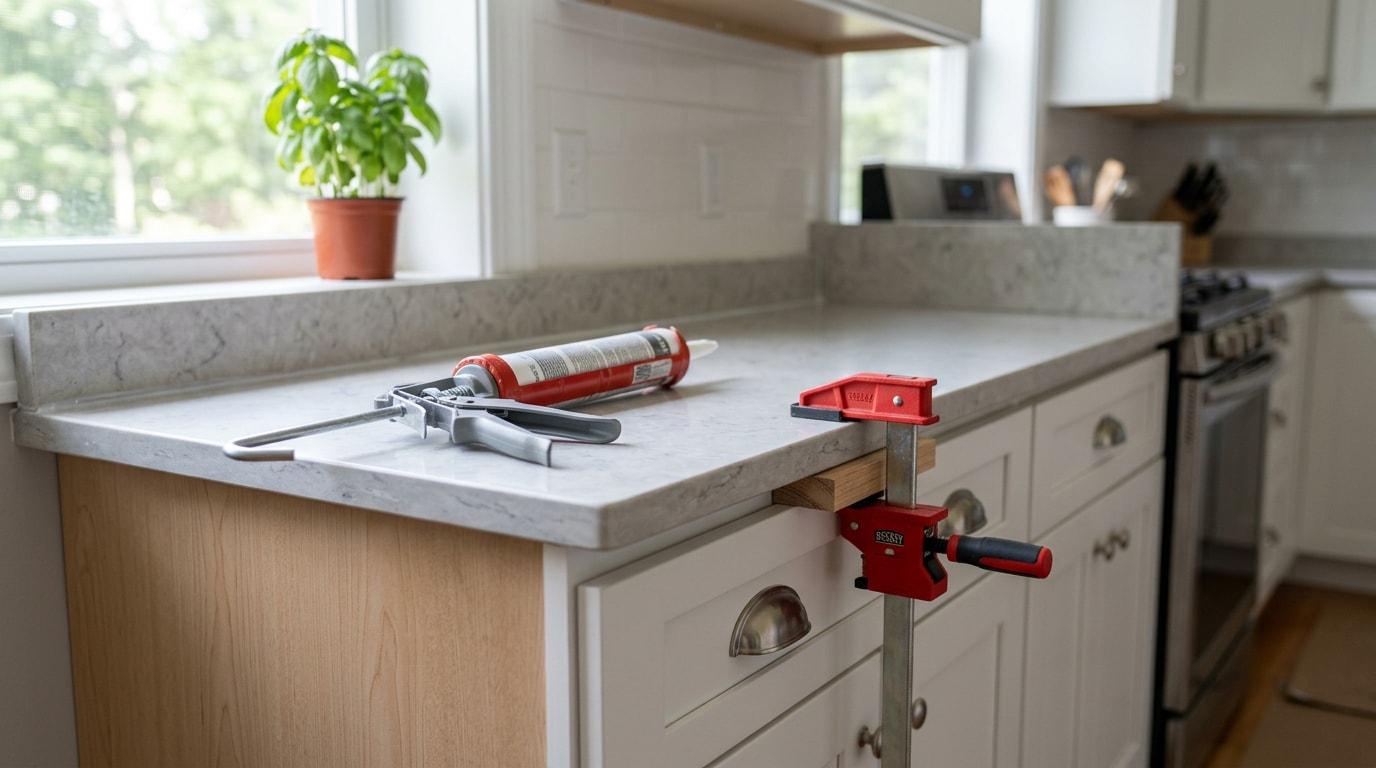
Once the dry fit checks out, the securing method splits by material. Laminate and butcher block tops get screwed up through the cabinet frame into the underside, using screws short enough that they won't poke through the surface. Stone surfaces like quartz, granite, and marble are typically set with construction adhesive or epoxy along the cabinet tops, then joined at seams with a color-matched seam filler.
| Material | Fastening Method | Typical Cure Time | Tools Needed |
|---|---|---|---|
| Laminate | Screws through cabinet frame | Immediate | Drill, short screws, level |
| Butcher block | Screws or brackets | Immediate | Drill, brackets, level |
| Quartz/Granite | Adhesive/epoxy, clamped seams | 4–24 hours | Epoxy, clamps, seam plates |
| Marble | Adhesive/epoxy, clamped seams | 4–24 hours | Epoxy, clamps, seam plates |
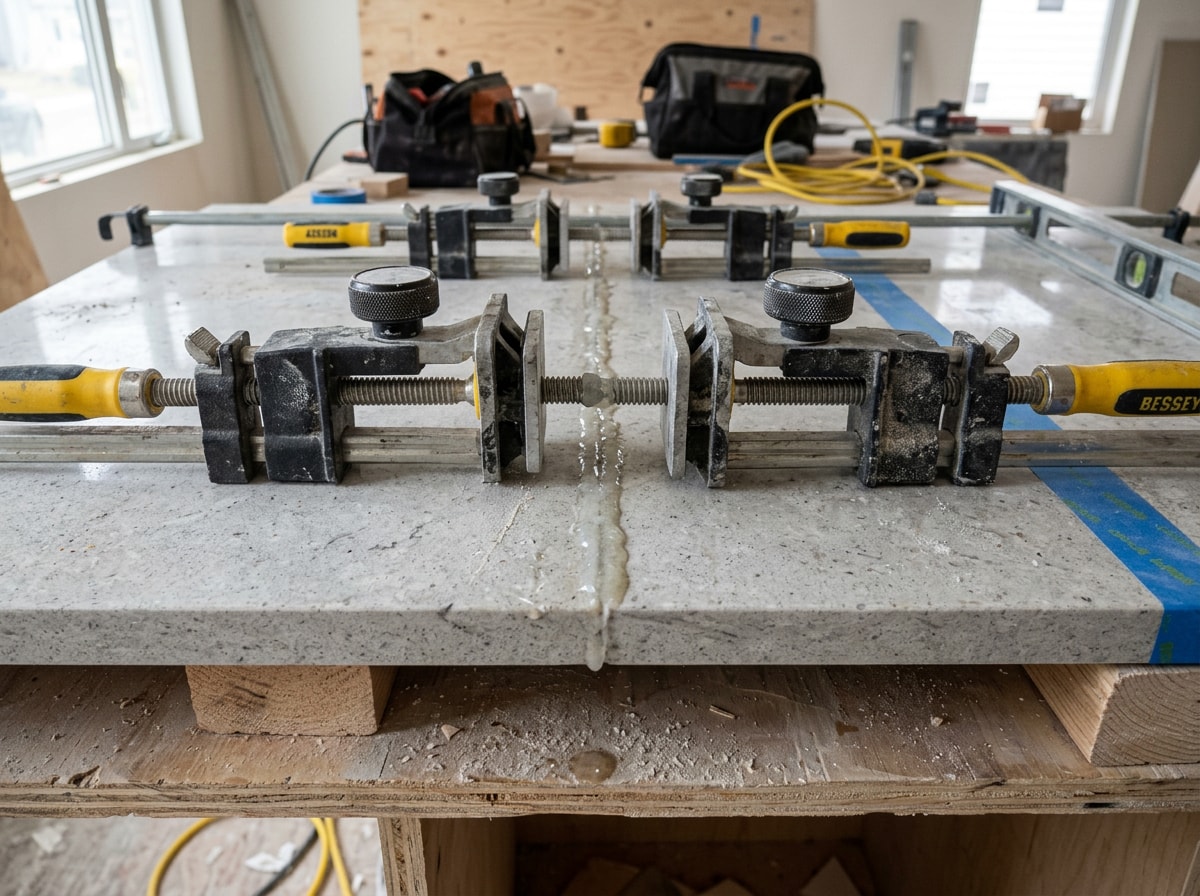
Stone cutting and polishing generates fine silica dust. Respirable crystalline silica exposure can lead to scarring and inflammation in the lungs, and result in incurable silicosis , and OSHA and NIOSH released an updated version of their joint hazard alert on respirable crystalline silica exposure in countertop manufacturing, finishing and installation in 2026. Follow the updated OSHA/NIOSH silica hazard alert for dust control and respiratory protection during any cutting step, even on a DIY job.
Step 6: Seal the Seams and Install the Sink
Run a bead of mildew-resistant kitchen and bath caulk along every joint where the countertop meets the wall. Smooth it with a finger or caulk tool for an even seal. This step also keeps water from seeping behind the counter and damaging cabinets over time.
From there, mount the sink using its specified hardware and sealant. If the project involves reconnecting supply lines, that's usually where a licensed plumber should take over.
DIY vs. Professional Countertop Installation
Quartz and other rigid stone surfaces leave very little room for on-site adjustment, which is the main argument for hiring a professional installer rather than tackling the job solo. DIY installation can save on labor costs, especially for laminate or butcher block, but a cracked slab, a voided manufacturer warranty, or a botched plumbing reconnection can erase those savings fast.
Weigh your own comfort level honestly. Laminate rewards a careful first-timer. Heavy stone generally rewards experience. If you're planning a full kitchen overhaul rather than a single countertop swap, our kitchen remodeling team can plan cabinets, layout, and countertops together instead of treating them as separate projects.
Countertop Installation Cost and Timeline
On-site installation can take anywhere from a few hours for a simple laminate swap to a full day or more for a kitchen with multiple slabs, seams, and cutouts. Cost and timeline both scale with material choice, the number of seams, cutout complexity, and whether the old countertop needs removal first.
Laminate and butcher block jobs tend to move fastest and cost less in labor. Stone installations take longer due to templating, cutting, and adhesive cure time. For a detailed breakdown of stone pricing, see our guide on how much granite countertops cost.
Request a quote for a timeline estimate specific to your kitchen layout.
FAQ
Can I Install Countertops Myself?
Yes, for lightweight materials. Laminate and butcher block can be installed by a patient homeowner with the right tools. Heavy stone surfaces like quartz, granite, and marble are usually best left to professionals because of their weight and fabrication requirements.
How Long Does It Take to Install Countertops?
On-site installation typically runs a few hours to a full day, depending on material and layout complexity. Fabrication lead time for stone adds days to weeks before install day even starts.
Does a Kitchen Countertop Installation Need a Plumber?
A plumber may be needed if the project involves disconnecting or reconnecting a sink, faucet, or dishwasher. Simple surface swaps without plumbing changes can usually be handled without one.
Do I Need to Remove the Old Countertop First?
Yes, in nearly every replacement project the old countertop needs to come out before the new one goes in. Shutting off water and disconnecting the sink safely are part of that removal process.
Can New Countertops Be Installed on Existing Cabinets?
Usually, yes, as long as the cabinets are level, securely fastened, and structurally sound. If a cabinet run is sagging, warped, or water-damaged, address that before the new countertop goes on, since a stone slab will not forgive an unlevel base.
Should Countertops Go In Before or After Appliances?
Countertops go in after cabinets but generally before slide-in appliances like a range or dishwasher are reconnected, since the counter sits on top of the cabinet boxes and the appliance openings need to match the finished countertop height.
If you'd rather hand off the measuring, removal, and install to a crew that does this weekly, contact Nordstar Builders for a countertop quote, or browse recent projects to see finished kitchens first.