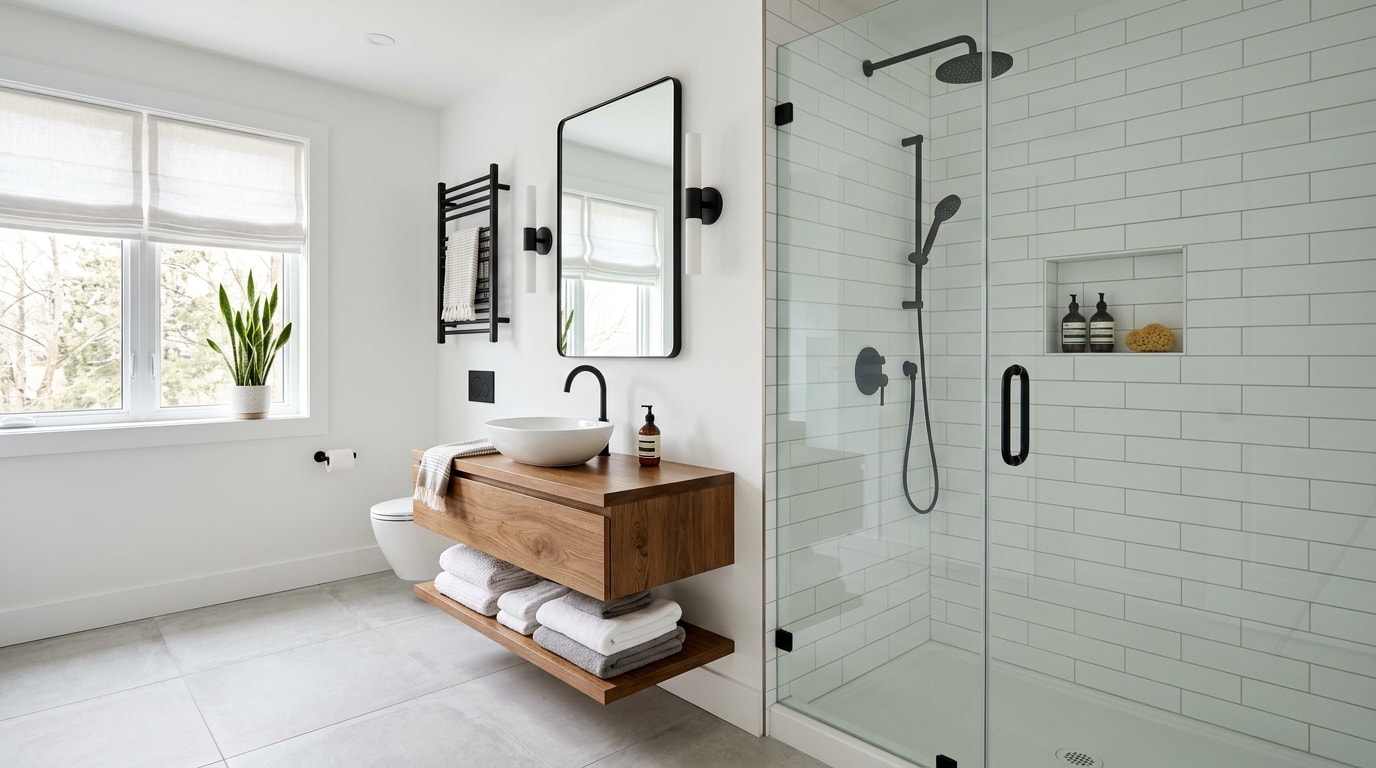
Learning how to remodel a bathroom starts with knowing the order of operations, since doing a step out of sequence is the fastest way to blow your budget. This guide walks through planning, demolition, plumbing, tile, and fixtures in the order a licensed contractor actually works a job. By the end, you'll know what to tackle first, what to hand off to a pro, and where most remodels go sideways.
Planning Your Bathroom Remodel
Every successful bathroom remodel starts with planning, not demolition. Decisions made before you pick up a hammer determine your budget, your timeline, and whether you'll need a permit later. Skipping this step is one of the most common reasons remodels run over budget.
Set Your Budget and Timeline
A useful starting point for your bathroom remodel budget is setting aside 5-10% of your home's current value, though your actual cost depends heavily on finish level and whether plumbing moves. Minor cosmetic updates often run $3,000-$8,000. Moderate remodels with new tile, vanity, and tub typically land between $10,000 and $20,000, while full gut remodels with layout changes can exceed $25,000.
Your timeline should account for material lead times, not just labor days. Custom vanities and specialty tile can take weeks to arrive.
Set aside a contingency fund of 10-15% of your total budget for surprises like hidden water damage or outdated wiring. Bathroom sizing itself is trending up, too: nearly two-thirds of respondents to NKBA's 2026 Bath Trends Report said homeowners are making more room for wellness-centered spaces, universal design considerations, and efficient storage solutions, and space allocation was a top priority for 89% of those surveyed . If a slightly larger footprint is on your wish list, it's worth pricing into the budget now rather than after walls are open. For a scope-specific number, see our bathroom remodeling{{SITE_URL}}/services/bathroom-remodeling/bathroom-remodeling) page or get a free estimate.
Decide on Design Features
Once the budget is set, lock in the big-surface decisions first: flooring, wall material, and shower or tub style, since these affect labor sequencing more than smaller details like hardware finishes.
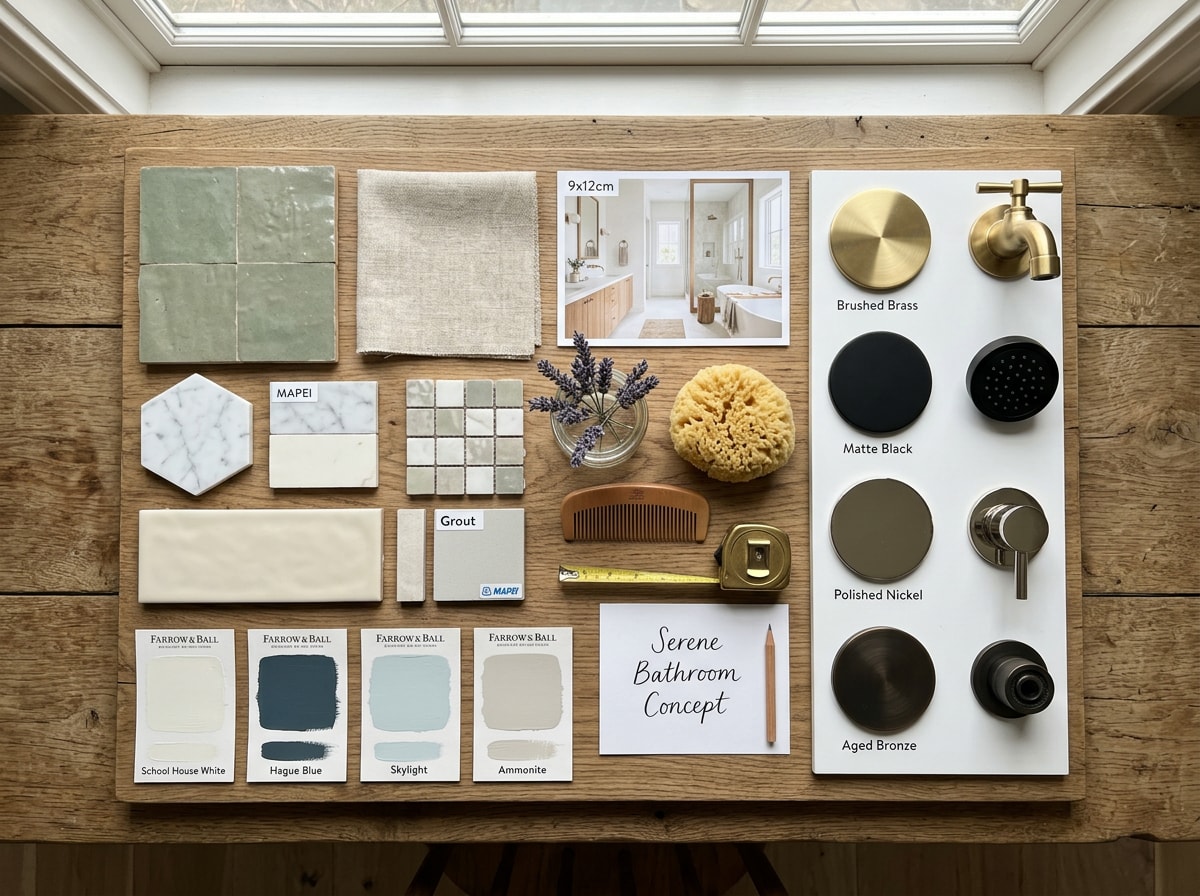
Pick a color scheme early and carry it through tile, paint, and fixtures so later choices don't clash with what's already ordered. If you're weighing full tile installation against a prefab shower surround, decide before you order anything else, since it affects nearly every step that follows.
Decide now whether your project involves a layout change: moving the toilet, sink, or shower to a new spot. Changing the layout means rerouting plumbing lines, adding cost and time, and usually requires a permit. Lock this in early to avoid expensive mid-project changes.
What We've Learned Remodeling Bathrooms in the Tri-Cities
At Nordstar Builders, the bathroom remodels that stay on budget are almost always the ones where the homeowner picked every fixture and tile before demo day. The projects that run over are the ones where a client decides to "figure out the vanity once the walls are open," because by then the plumbing rough-in is already set, and changing course means reopening finished work.
Hire a Pro or DIY It?
Some parts of a bathroom remodel suit an ambitious homeowner. Others need a license and a passed inspection. If you're trying to figure out where that line sits for your project, our guide on how to choose a bathroom remodeling contractor walks through what to ask before you hire, and when it's worth bringing in a bathroom remodeling specialist instead of a general handyman.
Types of Bathroom Remodels
Understanding how to remodel a bathroom starts with knowing which category your project falls into, since scope changes the tools, time, and permits you'll need.
A surface-level remodel updates finishes, new paint, fixtures, lighting, and hardware, without touching plumbing or walls. This is the fastest and cheapest option.
A full bathroom remodel, often called gutting a bathroom, strips the room to the studs and subfloor and replaces nearly everything. It takes longer and typically requires permits for plumbing and electrical work.
A replacement remodel swaps out existing fixtures, such as a new tub, vanity, or toilet, in the same footprint without moving plumbing. This sits between surface-level and full remodels in cost and complexity.
A layout change remodel relocates fixtures to a new configuration. Because this means moving drain and supply lines, it's the most expensive and time-intensive category and nearly always requires a permit.
Tools and Materials Needed
Gathering everything before you start prevents mid-project hardware store runs.
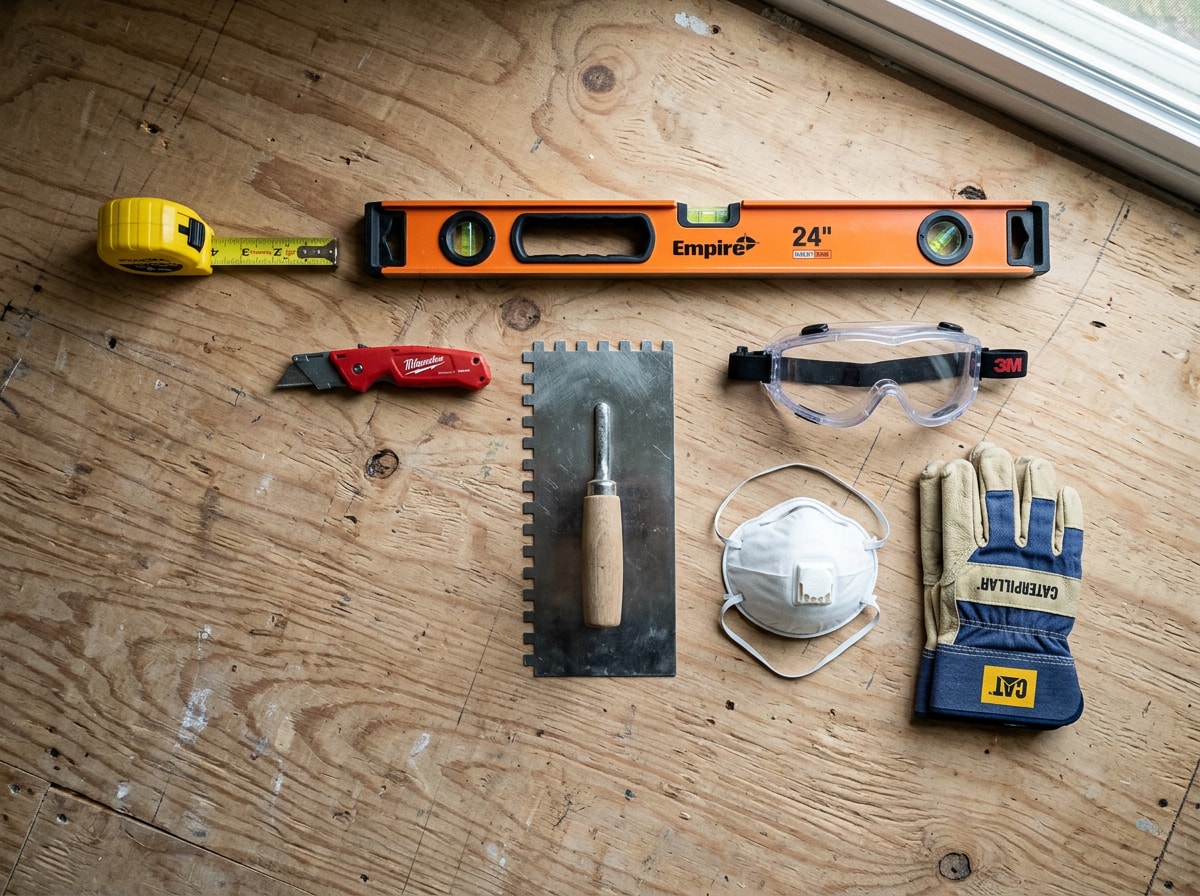
Core tools for most remodels:
- Tape measure and level
- Pry bar and utility knife
- Tile cutter or wet saw
- Cordless drill
- Stud finder
Core materials to have on hand:
- Moisture-resistant drywall or cement board
- Caulk and grout
- Thinset mortar
- Bathroom-grade paint
- Extra fasteners and shims, since tile and vanity installs rarely go exactly to plan
Safety gear matters more here than people expect. Demolition kicks up dust, mold spores, and sometimes lead particles. Wear safety goggles, an N95 or better respirator mask, and gloves throughout demolition and tile cutting.
Demolition and Preparation
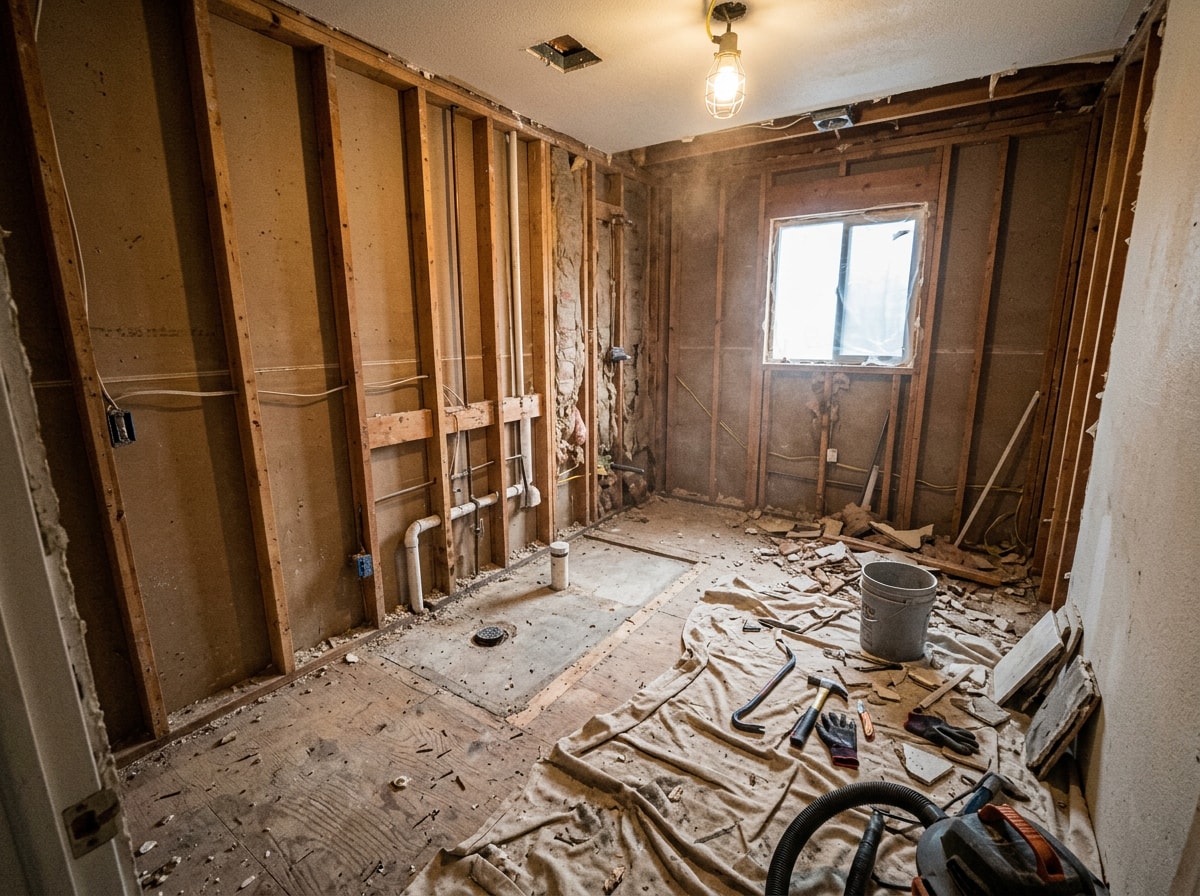
Demolition is where a bathroom remodel starts feeling real, and it's also where mistakes get expensive if done out of order.
Shut off the water supply and the circuit breaker before touching anything. Then remove fixtures in sequence: toilet first, then vanity and sink, then tile, then drywall down to the studs if you're planning to gut the bathroom fully.
As you open walls, check for soft subfloor, staining, or mold behind tile and around the tub. These issues are common and far cheaper to fix now than after new surfaces go in.
If your home was built before 1978, assume the original paint contains lead and follow lead-safe work practices during demolition. Any renovation, repair, or painting project in a pre-1978 home with lead-based paint can easily create dangerous lead dust, and the EPA recommends homeowners hire a lead-safe certified contractor trained in lead-safe work practices . See the EPA's lead-safe renovation guidance for the full list of containment and cleanup steps.
Plan debris removal before you start. A full gut produces more waste than a standard trash pickup can handle.
Plumbing and Electrical Updates
This stage is often the most intimidating part of a bathroom remodel, since it's where DIY ambition meets building code, and it's the point most likely to require an inspection before walls close.
Rough-in work includes setting new drain and supply lines if fixtures are moving, replacing the toilet flange, and running wiring for outlets, lighting, and the exhaust fan.
Every outlet near a sink or tub needs GFCI protection. The NEC requires GFCI protection for all bathroom receptacles in a dwelling unit , and the code does not allow distance exemptions, so whether the outlet is one foot or ten feet from water, it requires GFCI protection . You can review the full requirement in NFPA 70, the National Electrical Code.
Some tasks suit an experienced DIYer: swapping a showerhead, replacing a faucet, or installing a light fixture on existing wiring. Tasks involving moved drain lines, new circuits, or altered vent stacks typically require a licensed plumber or electrician, since these changes affect whole-home code compliance and usually need a permit before walls close.
The difference comes down to risk. A leaking showerhead is a nuisance, but a miscoded vent stack is a safety hazard that inspectors are specifically trained to catch.
Installing the Shower or Tub
Choose a shower pan or tub that matches your existing footprint unless you've already planned for a layout change. Resizing the opening adds framing work most DIYers underestimate.
Installation starts with dry-fitting the base to confirm it sits level, then setting it in mortar or on manufacturer-specified supports so it doesn't flex underfoot. A pan that rocks even slightly will eventually crack the grout or tile joints above it.
Tub installation follows a similar process: level the unit, confirm it's fully supported along the back and sides, and connect the drain and overflow before securing the surround.
Once the base is set, install wet-area backer board on surrounding walls. This gives tile a stable, water-resistant surface and isn't optional in a shower or tub surround. If you'd rather hand this step to a specialist, our shower installation crew handles pan-setting and waterproofing on every job.
Installing Walls, Floors, and Surfaces
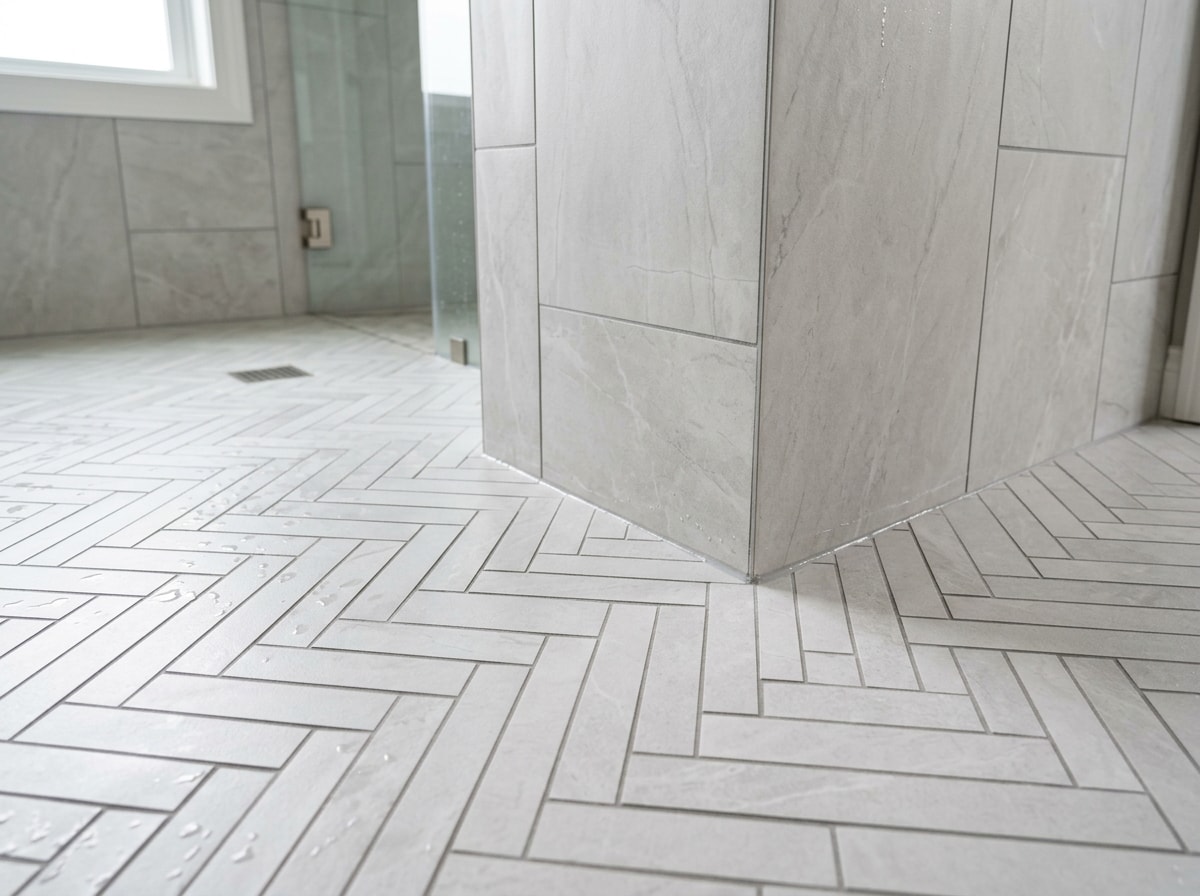
Once plumbing and backer board are in, walls generally go up before tile, and tile goes in before flooring. This order keeps water draining toward the floor instead of behind finished walls.
Use moisture-resistant drywall in dry zones and cement board or a waterproofing membrane in direct wet areas like shower walls. Skipping a proper waterproofing membrane is a common cause of hidden leaks years later.
For bathroom flooring and walls, the main choices are porcelain tile, luxury vinyl plank (LVP), and natural stone. Here's how they compare:
| Material | Price per sq. ft. | Water Resistance | Maintenance |
|---|---|---|---|
| Porcelain tile | $3-$10 | Excellent | Low, occasional grout sealing |
| Luxury vinyl plank | $2-$7 | Very good | Low, wipe clean |
| Natural stone | $7-$20+ | Good (needs sealing) | High, regular resealing |
Porcelain tile holds up best in constantly wet zones. LVP is budget-friendly and comfortable underfoot but less ideal directly inside a shower. Natural stone looks premium but needs more upkeep to stay water-resistant.
Installing the Vanity and Cabinets
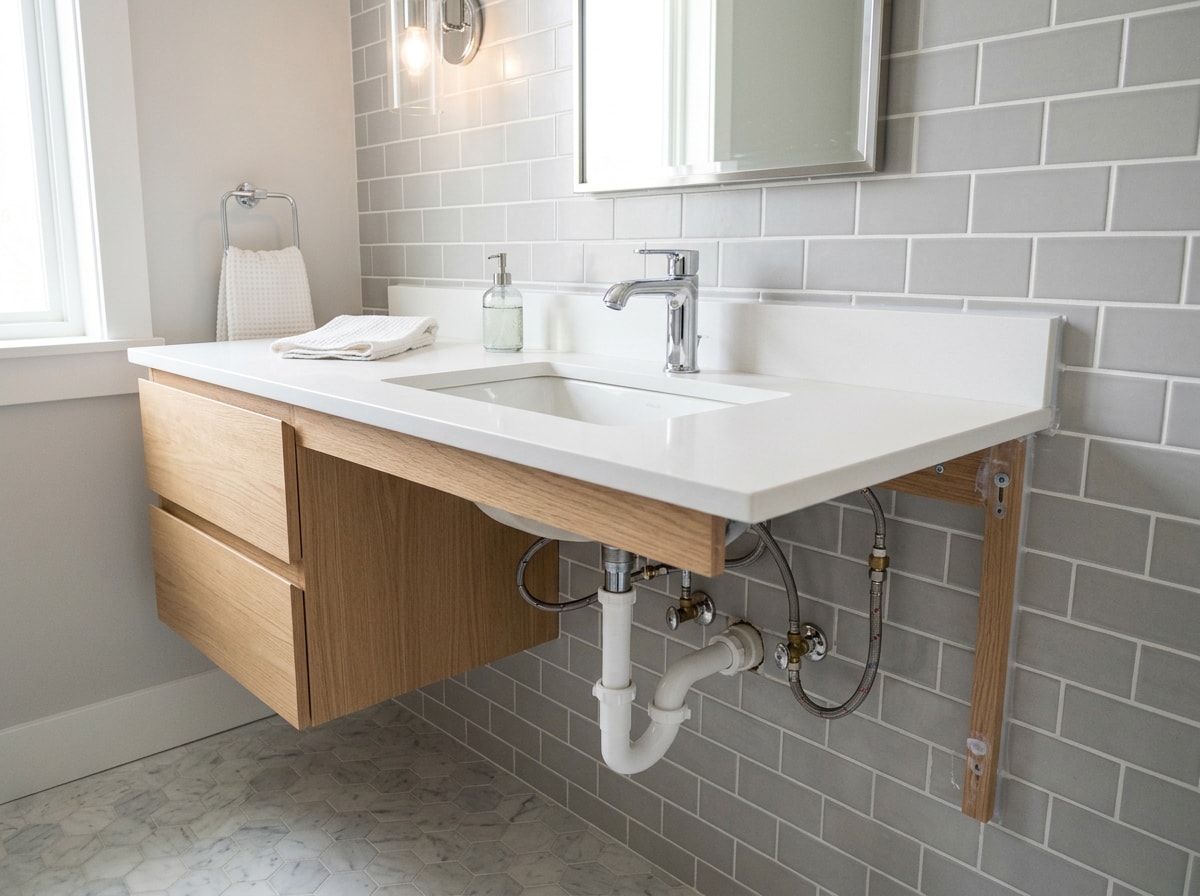
Set the vanity in place and check it against the wall studs. A vanity anchored only into drywall won't hold up over time. Mark stud locations before drilling.
Before final fastening, confirm the vanity is level front-to-back and side-to-side, and check that clearances around the toilet and door swing allow comfortable movement, generally at least 21 inches of clear floor space in front.
Once it's level and secured, connect the supply lines and P-trap, then run water briefly to check every joint for leaks.
Browse our vanity installation work if you're still finalizing which style fits your layout.
Installing Fixtures, Lighting, and Final Plumbing Hookups
With cabinetry and surfaces in place, it's time to install everything that makes the bathroom functional again.
Set the toilet on a new wax ring or wax-free seal, then bolt it down evenly so it doesn't rock. Connect the sink faucet and drain assembly, and hang the shower door once the surround has fully cured.
Wire light fixtures and the exhaust fan now if this wasn't finished during rough-in, and confirm the exhaust fan vents outside rather than into the attic. Venting into an enclosed space can cause moisture problems throughout the house.
Turn on the water supply and run every fixture, toilet, sink, shower, tub, while checking each connection for drips or slow leaks. Small leaks here are far easier to fix than after walls and flooring are finished.
Finishing Touches and Clean-Up
Run a bead of caulk around the tub, sink, and toilet base to seal gaps and prevent water from seeping underneath. Let it cure fully before the first shower.
Hang the mirror, towel bars, shelving, and any other bathroom accessories, then touch up paint wherever trim meets wall or ceiling. These finishing touches are often what makes a remodel look professionally done.
Finish with a thorough post-remodel cleanup: vacuum dust from vents and corners, wipe down every surface, and check drawers and cabinets for leftover debris before the bathroom goes back into daily use.
Ready to Start Your Bathroom Remodel?
A bathroom remodel touches nearly every trade in a home: carpentry, plumbing, electrical, and tile, all in a room the size of a closet. If you'd rather hand the sequencing, permits, and subcontractor scheduling to a team that's done it before, Nordstar Builders serves homeowners across Johnson City, Kingsport, Bristol, and the surrounding Tri-Cities area. Get a free estimate and we'll walk your bathroom with you before you spend a dollar on materials.
Nordstar Builders is a general contractor serving the Tri-Cities region of Tennessee, specializing in bathroom, kitchen, and whole-home remodeling. Questions about your specific project are always welcome through our contact page.
FAQ
These are the most common questions people ask once they understand how to remodel a bathroom from start to finish.
How much does it cost to remodel a bathroom?
Bathroom remodel cost varies widely by scope. Budget-tier remodels with cosmetic updates typically run $3,000-$8,000. Mid-range remodels with new tile, vanity, and tub generally cost $10,000-$20,000. High-end remodels with layout changes and premium finishes often exceed $25,000. Treat these as general ranges, since region and labor rates shift the final number.
What is the cheapest way to renovate a bathroom?
The cheapest bathroom renovation keeps the existing layout and reuses what you can. Refinish an outdated tub instead of replacing it, paint cabinets rather than buying new ones, and update hardware and lighting instead of retiling. Doing your own demolition and non-licensed installation work also cuts labor costs compared to a full contractor-led remodel.
How long does a bathroom remodel take?
A standard bathroom remodel typically takes 2-4 weeks from demolition to final cleanup, assuming materials are on hand and no major surprises turn up behind the walls. Larger projects involving layout changes or custom materials can stretch to 6-8 weeks or longer, especially with permit delays.
Do I need a permit for a bathroom remodel?
Most plumbing, electrical, and structural changes require a permit, since they affect building codes designed to protect against leaks, fire, and structural failure. Purely cosmetic updates, like paint, flooring over an existing subfloor, or same-spot fixture swaps, usually don't need one. Check with your local building department, since requirements vary by city and county.
Can I remodel a bathroom myself?
Many parts of a DIY bathroom remodel are realistic for homeowners: demolition, painting, tiling, and installing a vanity or toilet. Work involving new electrical circuits, moved plumbing lines, or structural changes generally requires a licensed professional to meet code and pass inspection. If your project leans toward a full gut, it's worth getting a few quotes before committing to doing it all yourself.
What order should a bathroom remodel be done in?
The standard order is: planning and permits, demolition, rough-in plumbing and electrical, backer board and waterproofing, tub or shower installation, wall and floor tile, vanity and cabinets, fixtures and lighting, then caulk, paint, and final cleanup. Working out of order, like installing flooring before the tub is set, usually means redoing finished work.
Can I still use my house during a bathroom remodel?
Yes, if you have a second bathroom. If the one being remodeled is your only bathroom, plan to use a neighbor's, a gym, or a temporary setup for 2-4 weeks, since water and power to the room will be off for stretches of the project.